Welcome to a world where every Minecraft mechanic, food, item, and block is a privilege that must be earned!
This project stays entirely within the bounds of vanilla—no superpowers or overpowered features—yet turns the usual progression upside down. Instead of handing you all abilities from the start, it locks them behind advancements. You’ll find yourself exploring alternate paths, delving into dungeons for hidden treasures, and genuinely celebrating each new resource you manage to unlock.
What’s more, this project is built to support and showcase BlazeandCave's Advancements Pack, featuring over 1000 advancements. Not only does that extensive list prolong gameplay and add extra layers of challenge, but it also serves as a thorough tutorial for newcomers—teaching every major mechanic of Minecraft. Even veterans who’ve mastered BlazeandCave’s before will discover fresh excitement, as the locked mechanics compel you to replay and rediscover Minecraft in a whole new way. If you’re looking for a more demanding survival experience that still feels like pure vanilla, this is it!
Maybe it will be clearer for you to look at the pictures? You can see screenshots in the gallery!
Gameplay
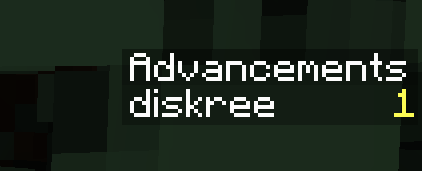
Early on, you’ll notice a scoreboard on your screen showing your completed advancements:

By default, you start the game with 1 advancement already unlocked (this acts as a little boost). As you earn more advancements, this counter goes up—so you’ll always know how close you are to unlocking the next ability!
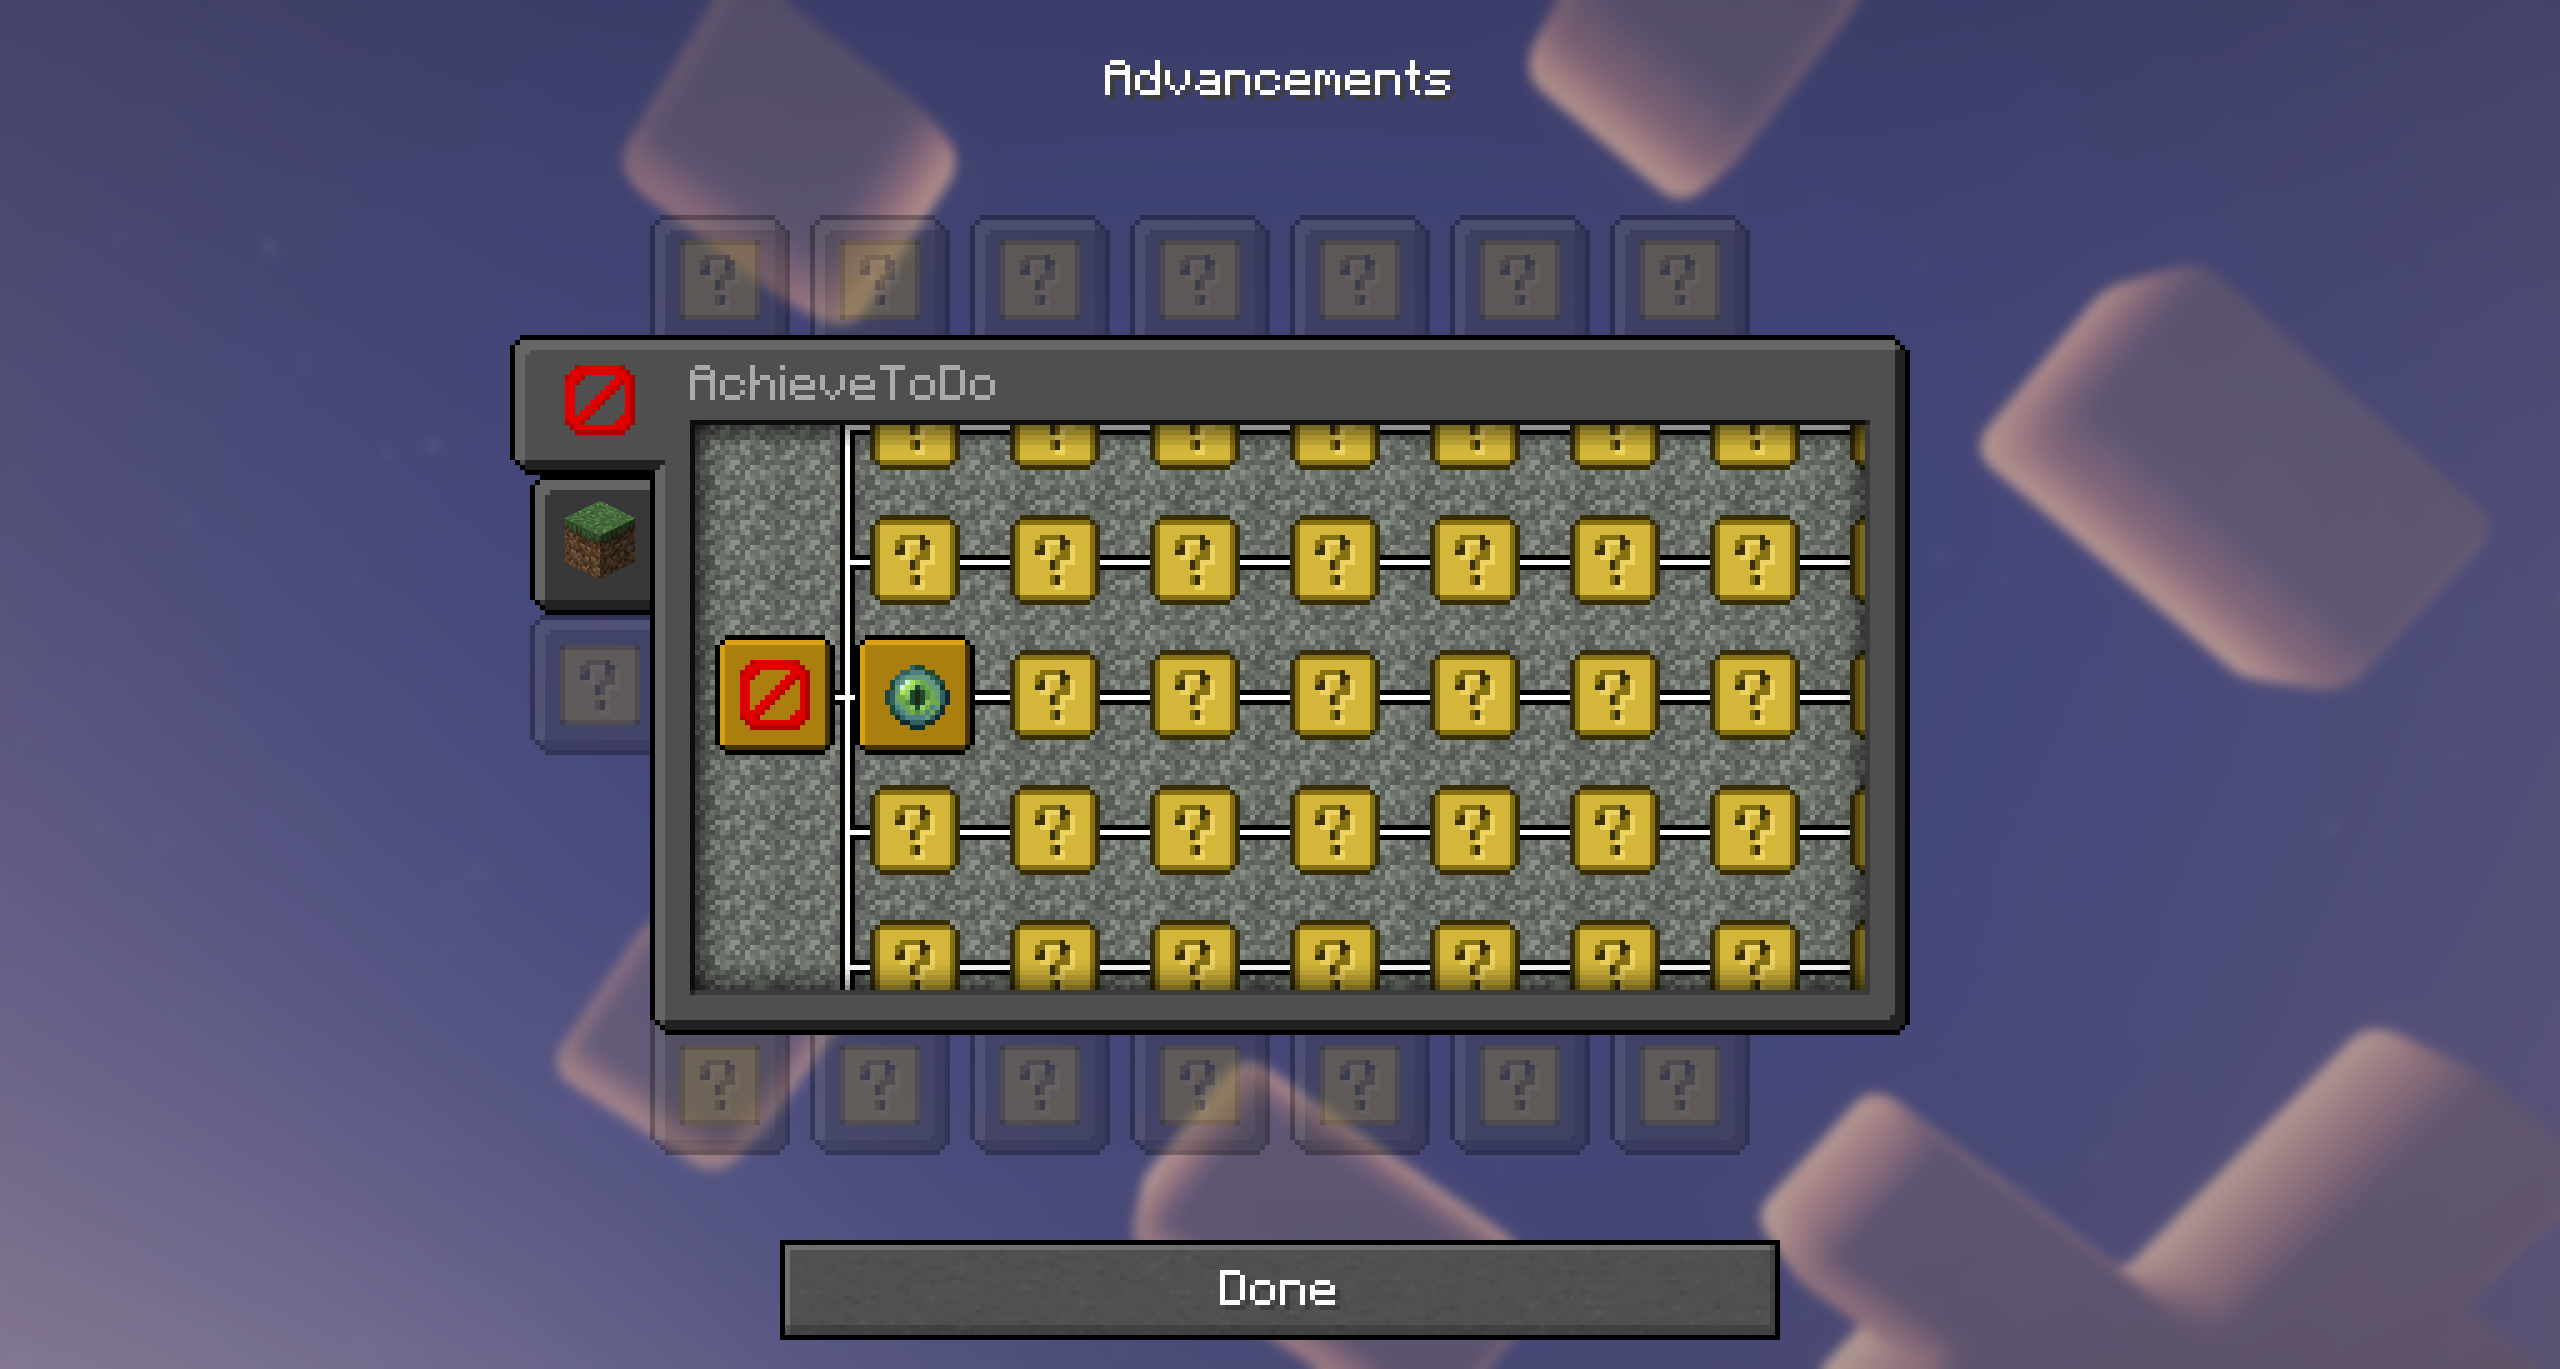
In this world, every ability gradually unlocks as you complete advancements. You’ll find all available actions—or at least question marks for them!—on the AchieveToDo tab in your advancements screen:

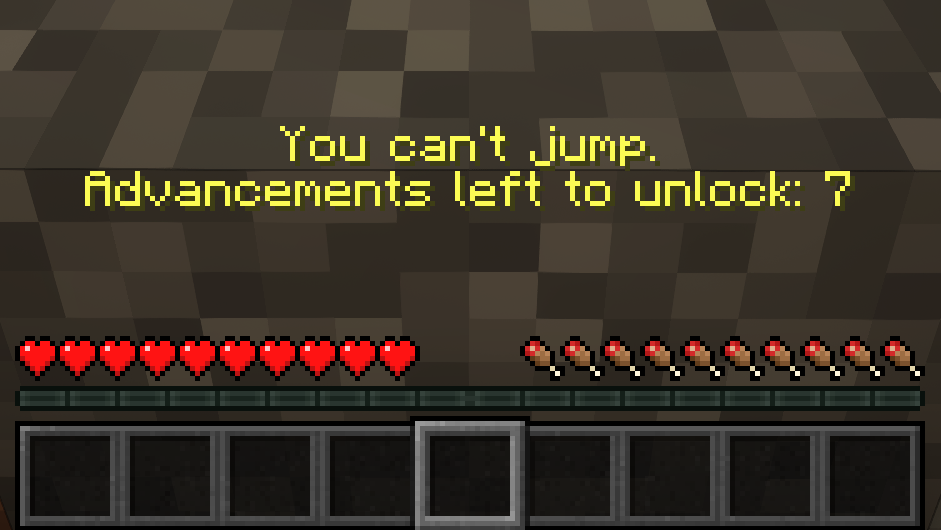
At first, you’ll see mostly mystery icons. The core idea is that you won’t know which abilities are locked until you try them. For instance, if you attempt to jump right after spawning, you’ll discover that jumping is restricted:

From that moment on, the “Jumping” ability is revealed in AchieveToDo tab, so you can track how many advancements you need to earn in order to unlock it:

Once you’ve completed the required 7 advancements, a notification will pop up, proudly announcing your new power to jump:

This same system applies to a wide range of gameplay elements—from basic actions like opening your inventory or breaking blocks, to using specific items, trading with villagers, traveling to different dimensions, or even interaction with objects within structures. Each newly unlocked feature feels like its own mini-achievement in your overall journey!
World Creation
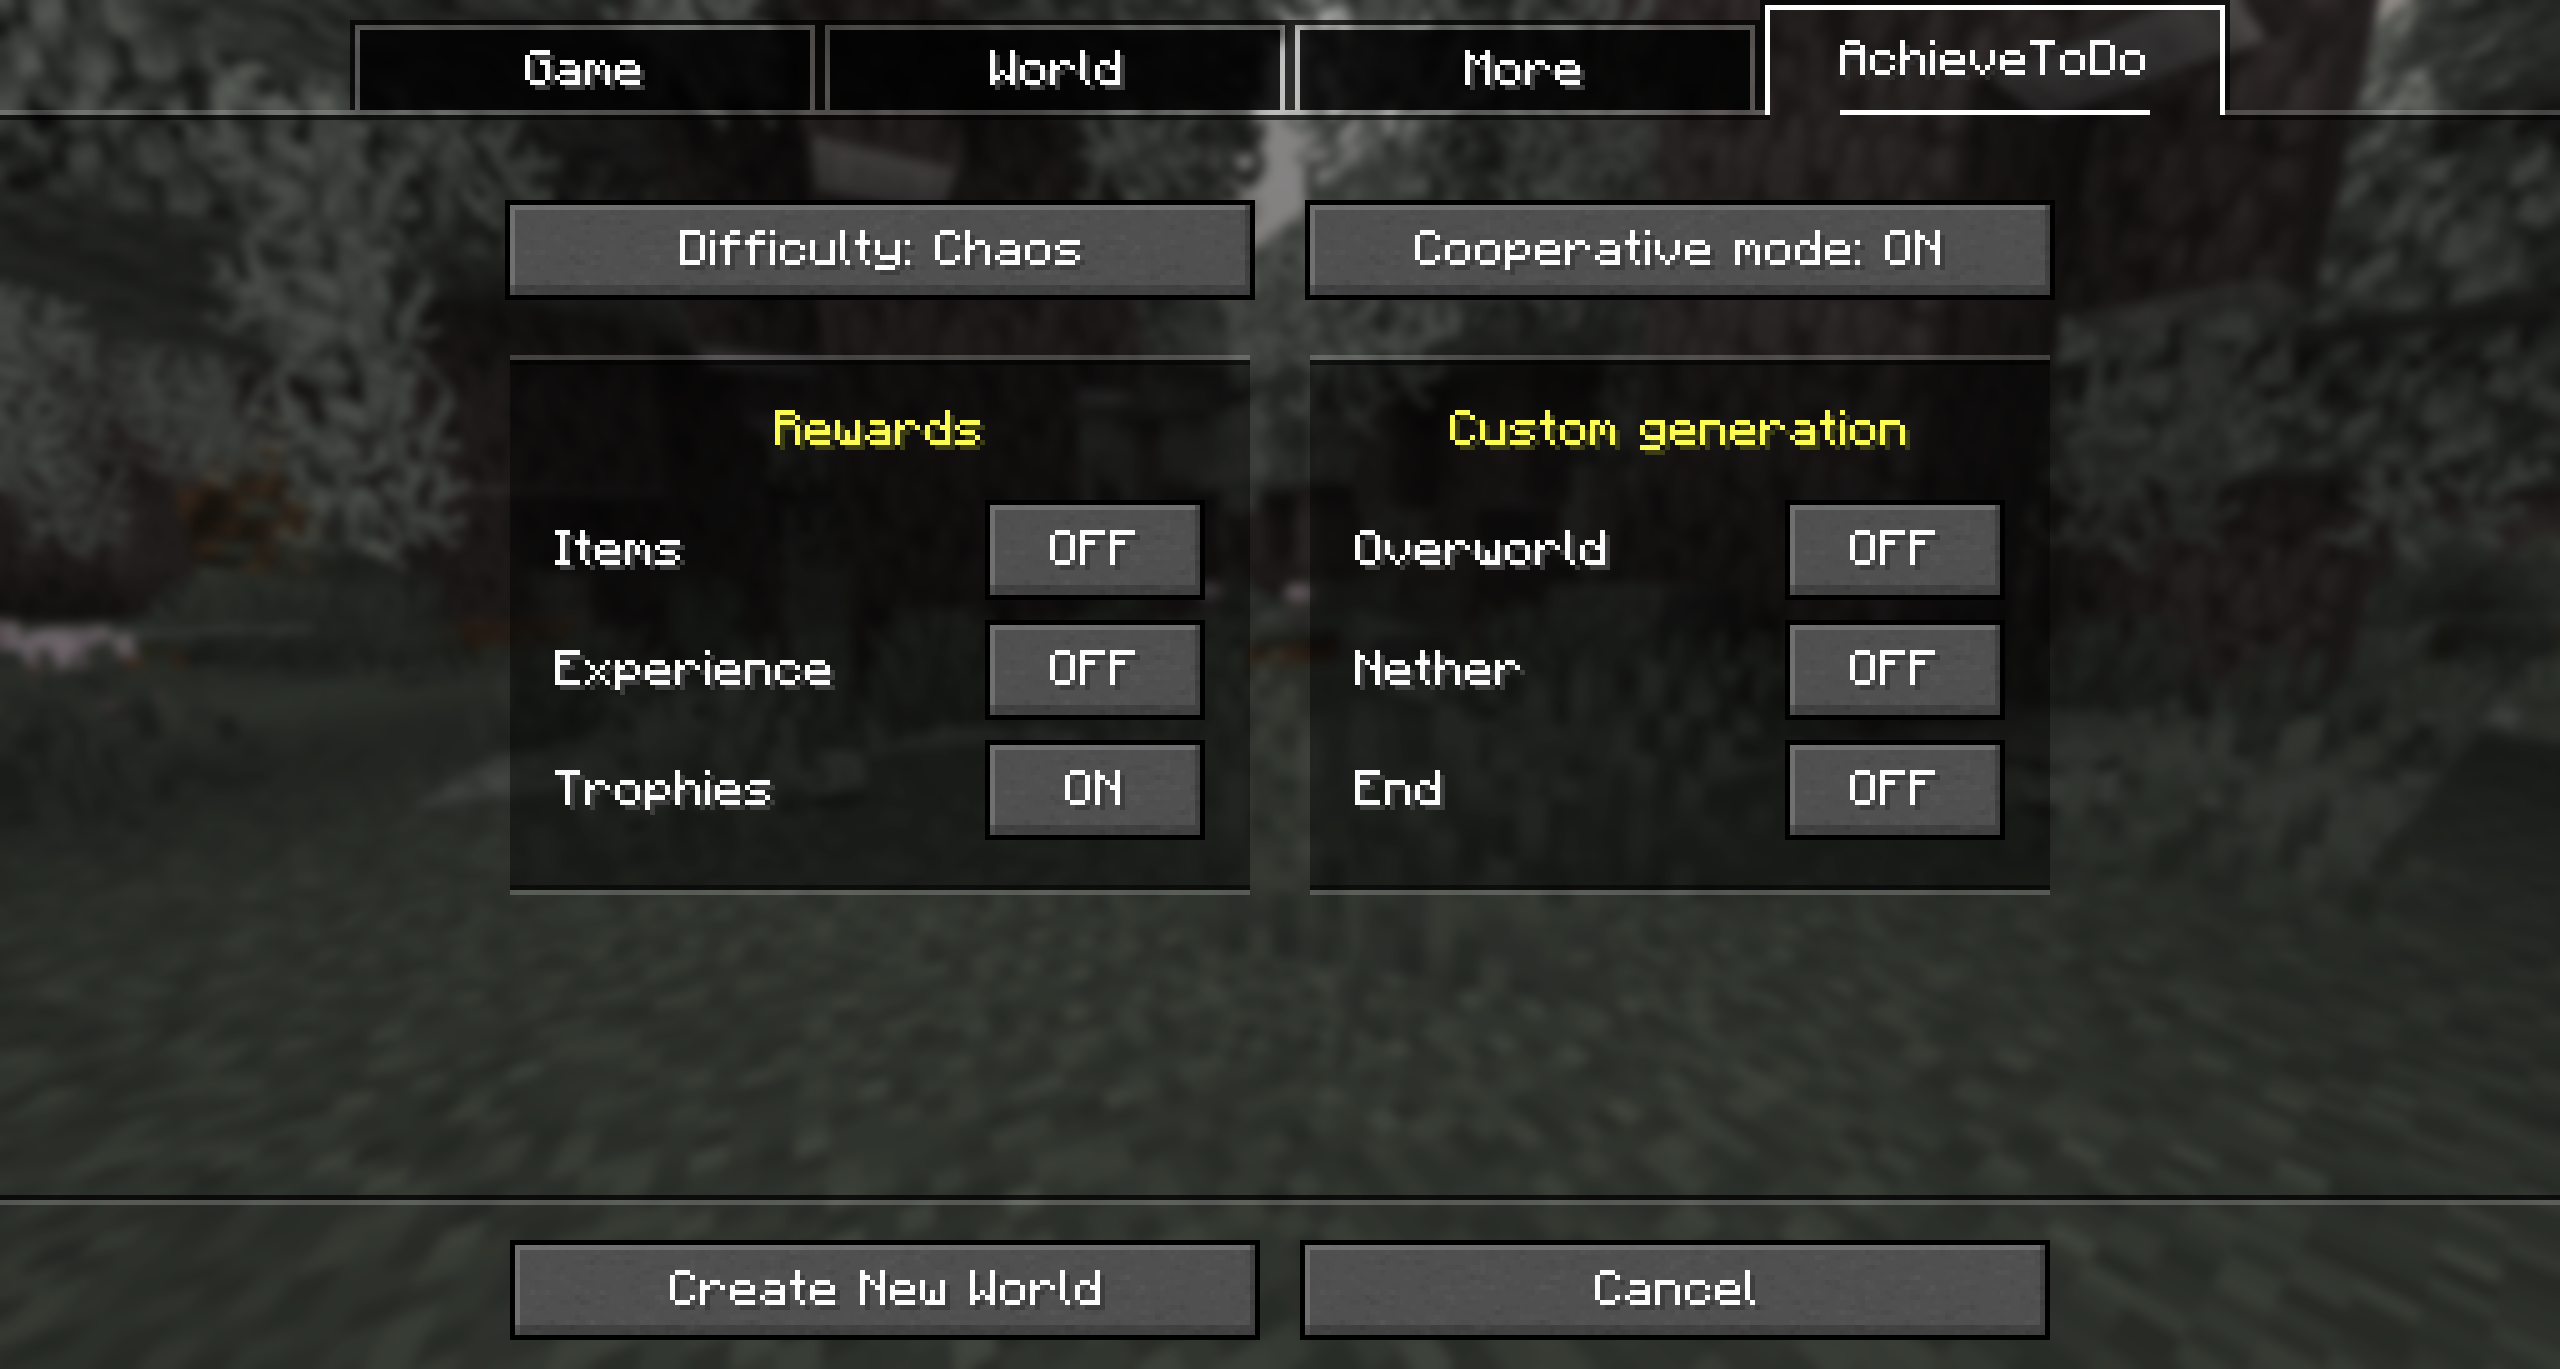
Don't forget to check the mod settings tab before creating a world:

Difficulty modes
AchieveToDo comes with four preset difficulty modes. Each mode offers a unique approach to unlocking abilities and structuring your progress, so you’re very likely to find one that fits your preferred!
Easy — Similar to Normal but with even quicker unlocks. All basic abilities are unlocked from the start.
Normal — The recommended mode. Similar to Hard but with faster unlocks to keep you constantly engaged. Only vision is available by default among the basic abilities.
Hard — A more RPG-like journey, centering advancements over core AchieveToDo mechanics. Unlocks follow all BlazeandCaves advancements, and the first advancement must be obtained blindly.
Chaos — Abilities get randomly shuffled based on the world seed, ensuring every run becomes an unpredictable.
If you want even more control over how abilities unlock, check out the Custom Configuration below.
Custom Configuration
This makes it easy to create all kinds of custom challenges or special gameplay rules—like giving players powerful abilities from the start or removing entire mechanics altogether.
- Launch with a Built-In Mode. First, start Minecraft with one of the existing AchieveToDo difficulty modes (e.g., easy, normal, hard, or chaos). This will generate the corresponding configuration file in your
config/achievetodofolder (for example,normal.toml). - Locate and Copy the Config File. Go to
config/achievetodoin your Minecraft directory, find the file that matches the difficulty you just launched (e.g.,normal.toml)—copy and rename it to something unique likecustom.toml. - Edit the Custom Config. Open
custom.toml(or whatever you named your file), look for the[abilities]section, where each line determines how many advancements are required to unlock a specific ability:- 0 (or omitting the line entirely) means the ability is unlocked by default.
- -1 means the ability is permanently locked and cannot be unlocked.
- Any positive number sets the required number of advancements before the ability becomes available.
- Use Your Custom Settings. When creating a new world, look for the AchieveToDo difficulty switch and select your custom difficulty option (named after your new file).
Server-side setup
-
Create a Single-Player World. In the world creation menu, enable all the settings you plan to use on your server (e.g., hardcore mode, Terralith, co-op, rewards, etc.). Review each difficulty’s description (easy, normal, hard, chaos) to understand how it affects gameplay.
-
Check Data Packs. Once the single-player world has been generated, open it and run the
/datapack listcommand. Take note of which data packs are active, including any external packs (likebacap.zip) and AchieveToDo’s built-in overrides (e.g.,achievetodo:bacap_override). -
Replicate the Setup. Upload the same external
.zipdata packs from your single-player world to your server’s datapacks folder, enable them in the same order shown by the/datapack listcommand and make sure to also enable the corresponding AchieveToDo override packs (e.g.,achievetodo:bacap_override) in the same order. -
Configure the Server. In your server’s
server.propertiesfile, create theachievetodo-configNameparameter. Set this parameter to the difficulty name you selected when creating the single-player world (easy, normal, hard, or chaos). -
Custom Configuration (Optional). Instead of using one of the built-in difficulty modes, you can specify the name of a custom configuration file as the value for the
achievetodo-configNameparameter.
Known issues
- The C2ME mod is not supported and may be unstable with AchieveToDo. This is because AchieveToDo tracks structure generation to determine their sizes, but does not currently support multithreading.
Acknowledgments
-
_Skrepka — My original inspiration for AchieveToDo, thanks to the creative Minecraft challenge videos (e.g., "How to complete Minecraft without X?").
-
Лолотрек — For introducing me to BlazeandCave's Advancement Pack.
-
Cavinator1 — Creator of BlazeandCave's Advancements Pack. AchieveToDo wouldn't be possible without it.
-
Stardust Labs — For providing the amazing world generation features across all three dimensions.
💛 Support the development of this mod!
If you like my work and want to support the project, you can send cryptocurrency donations:
- Ethereum (ETH):
0xD6b540444696f31f0ff417871db7F3E8a90eFA0C - Bitcoin (BTC):
bc1qvkntpp3sc5yknhugn7c74laxyrfsfzfrf5qqf4 - USDT (TRC20):
TRqLLSdgwFZzpS31mAhpqnnx96SowzhRvB - TON (TON):
UQAsmhvqchGd67jLfHZA8hsPa4ylxO1pvQA0_doQ4wTfCIFZ
Thank you very much for your support!
90% of ad revenue goes to creators
Support creators and Modrinth ad-free with Modrinth+
